| View previous topic :: View next topic |
| Author |
Message |
Deuche Fester
Dropped

Joined: 17 Apr 2008
Posts: 102
Location: Hilversum, The Netherlands
|
 Posted: Thu Jan 29, 2009 3:57 pm Post subject: Posted: Thu Jan 29, 2009 3:57 pm Post subject: |
 |
|
| JuanNavarro wrote: | If you still doesnt have dismanteled again your crankcase i dont think its necessary just to remove the seal, just extract the one you have and inspect and clean the bore and put a new one.  |
Well, the seal was already a new one, and i don't have more. I could buy a new one of course... I will get some items this saturday, like the cilinders and pistons. Maybe i will get a new seal and just easily replace this one :)
_________________
 |
|
| Back to top |
|
 |
dyanut
Dropped
Joined: 05 Aug 2007
Posts: 177
Location: North Yorkshire
|
| Posted: Fri Jan 30, 2009 4:31 pm Post subject: |
|
|
Dennis,
considering that it's so easy to replace the front crankshaft seal with the engine assembled, why not just leave it and see if it's OK after you've started the engine?
Out of curiosity, could I ask whether you've bought new cam followers to go with the reground cam? Apologies if you've already done this, but I did notice some cam followers sitting on the bench in your pictures...
With a Kent cam, it's also a good idea to use new valve springs and even then to check the spring rates.
The cam's opening and closing ramps are very steep and I suspect that this is connected with the problems experienced by UK racers with valve heads falling off. 
Some racers are already using stainless steel valves and I understand that more will be doing so for the 2009 season...
Ken. |
|
| Back to top |
|
|
Deuche Fester
Dropped
Joined: 17 Apr 2008
Posts: 102
Location: Hilversum, The Netherlands
|
| Posted: Fri Jan 30, 2009 9:02 pm Post subject: |
|
|
Hi Ken,
I am planning to thoroughly check the cam followers for wear and if needed to replace them. The valve springs i might replace, but how do i check the spring rates? I am going to pick up the barrels and pistons tomorrow morning and i can buy most parts there as well. If needed, i will take some new followers as well.
_________________
|
|
| Back to top |
|
|
JoZeF
Grave Digger
Joined: 25 May 2007
Posts: 1734
|
| Posted: Fri Jan 30, 2009 9:25 pm Post subject: |
|
|
you always need new followers with a reground cam, I thought...
_________________
"That bumper fits there like sunglasses on pig"  O.E. O.E.
 |
|
| Back to top |
|
|
Deuche Fester
Dropped
Joined: 17 Apr 2008
Posts: 102
Location: Hilversum, The Netherlands
|
| Posted: Fri Jan 30, 2009 9:31 pm Post subject: |
|
|
Some people told me that the followers can also be reused if they don't show significant wear (pressing the surface of two of them against eachother you could see some wear)
_________________
|
|
| Back to top |
|
|
JoZeF
Grave Digger
Joined: 25 May 2007
Posts: 1734
|
| Posted: Fri Jan 30, 2009 9:45 pm Post subject: |
|
|
hi
well, you can re use them if you have them ground flat, I think.
If i was fitting a new cam I'd rather have the parts in contact with it new, too
_________________
"That bumper fits there like sunglasses on pig" O.E.
|
|
| Back to top |
|
|
Deuche Fester
Dropped
Joined: 17 Apr 2008
Posts: 102
Location: Hilversum, The Netherlands
|
| Posted: Fri Jan 30, 2009 10:30 pm Post subject: |
|
|
| JoZeF wrote: | hi
well, you can re use them if you have them ground flat, I think.
If i was fitting a new cam I'd rather have the parts in contact with it new, too |
Now you're convincing me. Damn, there goes another 100 euro for 4 new followers :)
_________________
|
|
| Back to top |
|
|
Deuche Fester
Dropped
Joined: 17 Apr 2008
Posts: 102
Location: Hilversum, The Netherlands
|
| Posted: Sat Jan 31, 2009 7:04 pm Post subject: |
|
|
Well, i got the barrels & pistons, some reground followers (!!!), 5 new bolts to mount the flywheel and a nice sleek 50's style new made rear bumper!
Tomorrow morning, i will start early and try to finish putting all back together! Expect otsl of pics then!
_________________
|
|
| Back to top |
|
|
dyanut
Dropped
Joined: 05 Aug 2007
Posts: 177
Location: North Yorkshire
|
| Posted: Sat Jan 31, 2009 11:31 pm Post subject: |
|
|
Hi Dennis,
good luck with the rest of the work.
Don't forget the most important part of breaking in a new camshaft and followers, which is to keep the engine running _above_ 2000 rpm for about 20 minutes.
STP's site recommends even higher rpm for this process...
< http://www.citroentuning.de/doc/CAMSHAFT-1.pdf >
Ken.
| Dennis wrote: | Well, i got the barrels & pistons, some reground followers (!!!), 5 new bolts to mount the flywheel and a nice sleek 50's style new made rear bumper!
Tomorrow morning, i will start early and try to finish putting all back together! Expect otsl of pics then! |
|
|
| Back to top |
|
|
Deuche Fester
Dropped
Joined: 17 Apr 2008
Posts: 102
Location: Hilversum, The Netherlands
|
| Posted: Sun Feb 01, 2009 11:13 am Post subject: |
|
|
| dyanut wrote: | Hi Dennis,
good luck with the rest of the work.
Don't forget the most important part of breaking in a new camshaft and followers, which is to keep the engine running _above_ 2000 rpm for about 20 minutes.
STP's site recommends even higher rpm for this process...
< http://www.citroentuning.de/doc/CAMSHAFT-1.pdf >
Ken.
|
Thanks! I got the same info from the racers over at 2cvracing.co.uk and i will definately stick to this method!
_________________
|
|
| Back to top |
|
|
Deuche Fester
Dropped
Joined: 17 Apr 2008
Posts: 102
Location: Hilversum, The Netherlands
|
| Posted: Sun Feb 01, 2009 9:37 pm Post subject: |
|
|
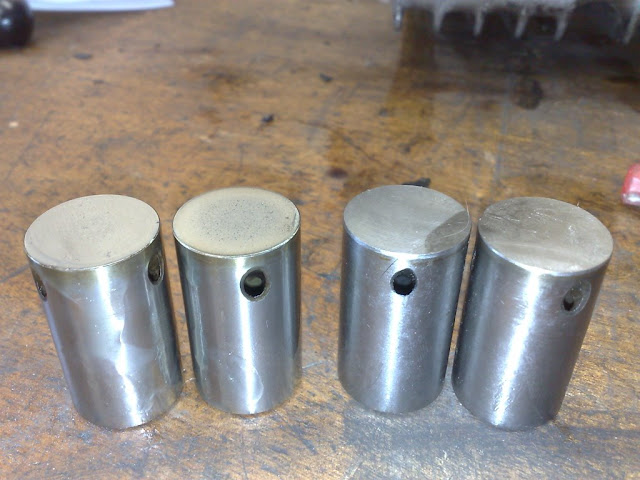
cam followers, my old ones on the left and new ones on the right. Although i could not detect any wear on the old ones, i mounted new grounded ones instead to be sure.
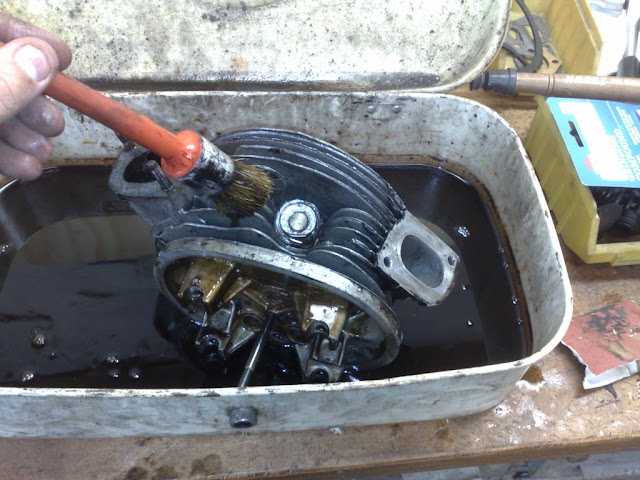
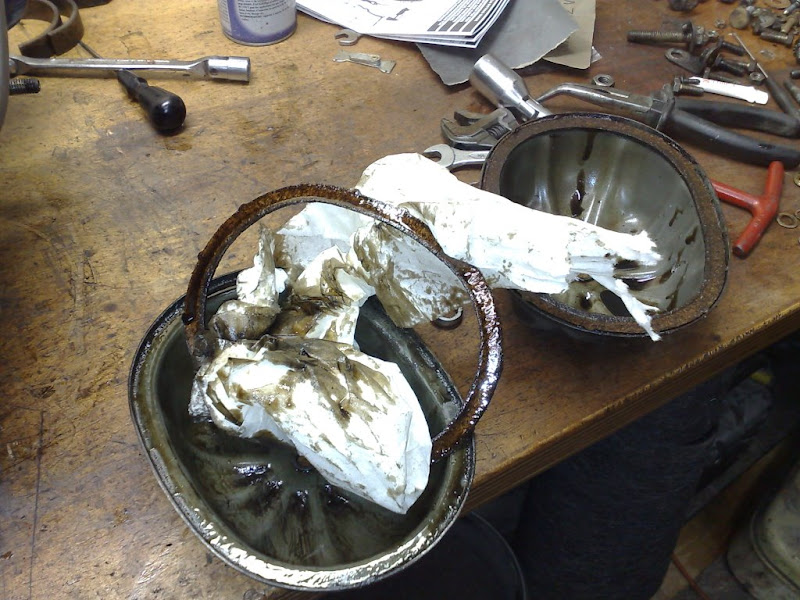
Cilinderheads in a bath of degreaser
Nothing beats blowing the rest of the dirt away with degreaser in the compressor :)

Sanding the valves with high grit sanding paper
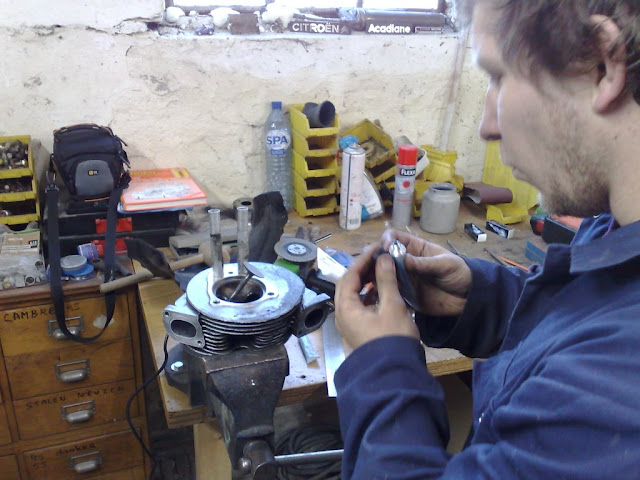
Polishing the valve rims
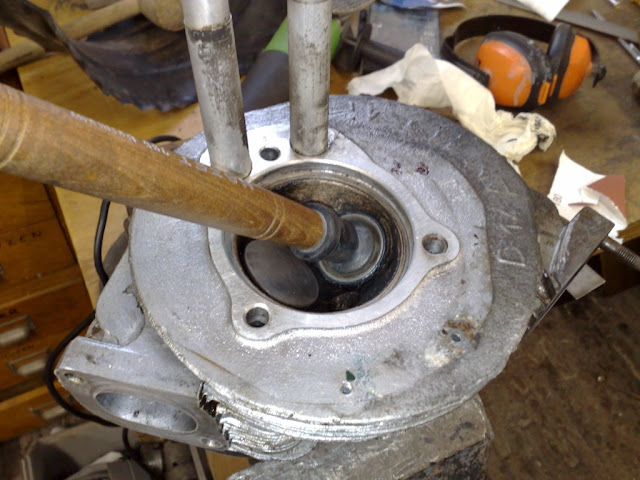
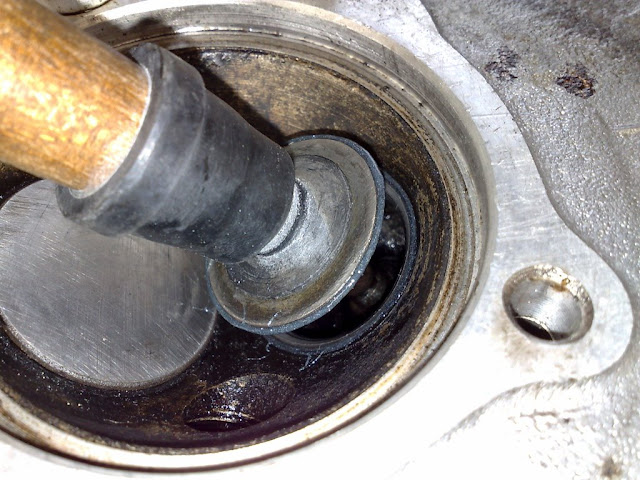

New valve seals installed
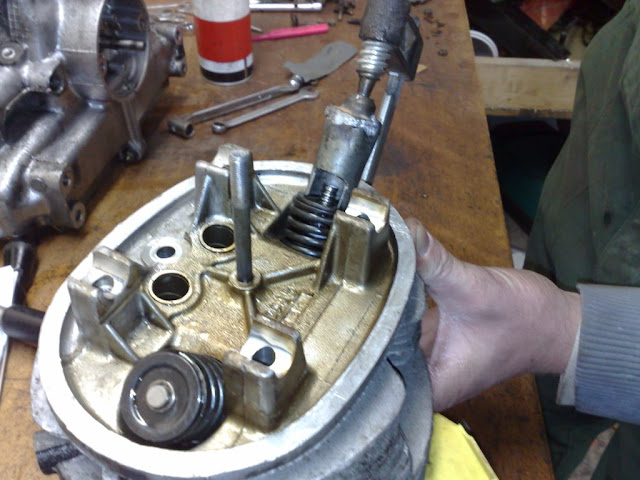
Placing the valves with our homemade tool!
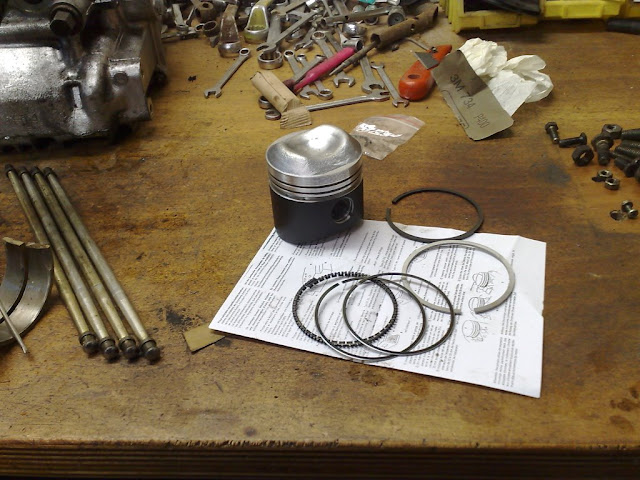

Beautiful new pistons with piston rings!
[img]`http://lh3.ggpht.com/_1N9nbPhdsMI/SYX1op37hNI/AAAAAAAAAkY/kzb08pnWerE/s640/010220091684.jpg[/img]
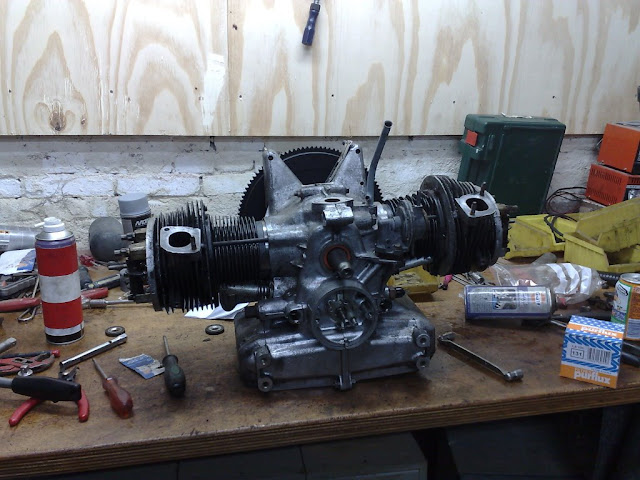
Installed the pistons. Looks amazing!
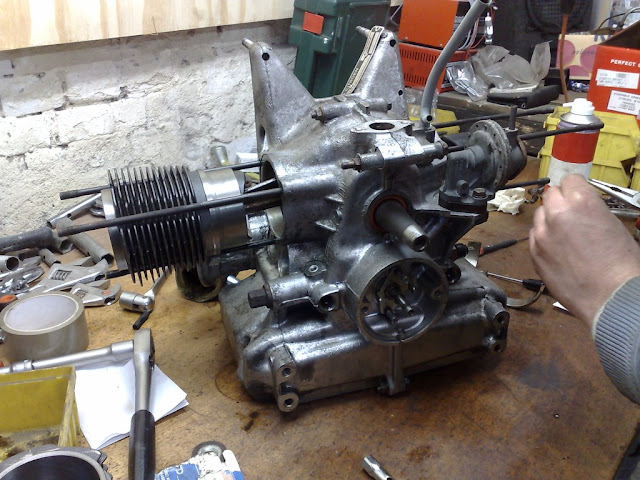
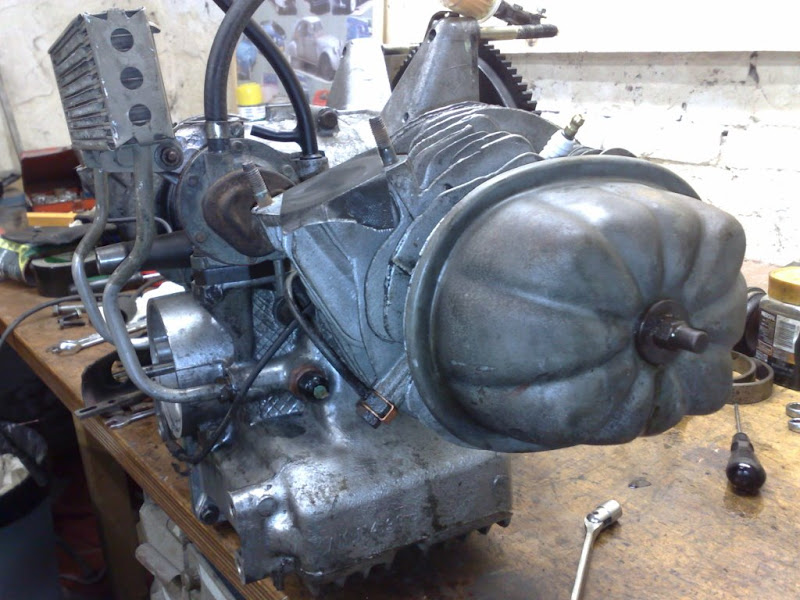
First cilinder in place

Aaaaah!
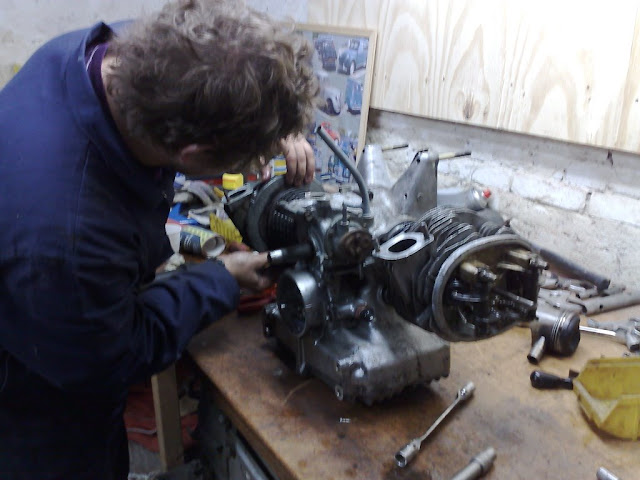
tightened the heads
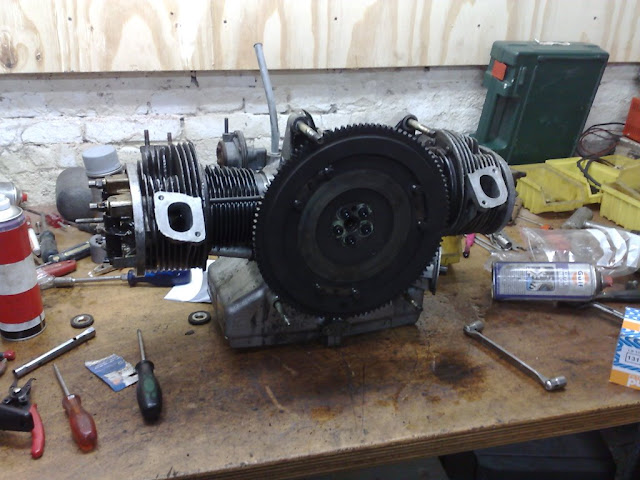
How i left the workplace today.
You can find more (and bigger) pics here:
http://picasaweb.google.com/Thadeez/2cv#
_________________
|
|
| Back to top |
|
|
Deuche Fester
Dropped
Joined: 17 Apr 2008
Posts: 102
Location: Hilversum, The Netherlands
|
| Posted: Wed Feb 04, 2009 1:05 pm Post subject: |
|
|

Björn resprayed the oil pipe and tube. Here it is installed with new seals.

Oilcooler (secondhand) installed with new rubbers.
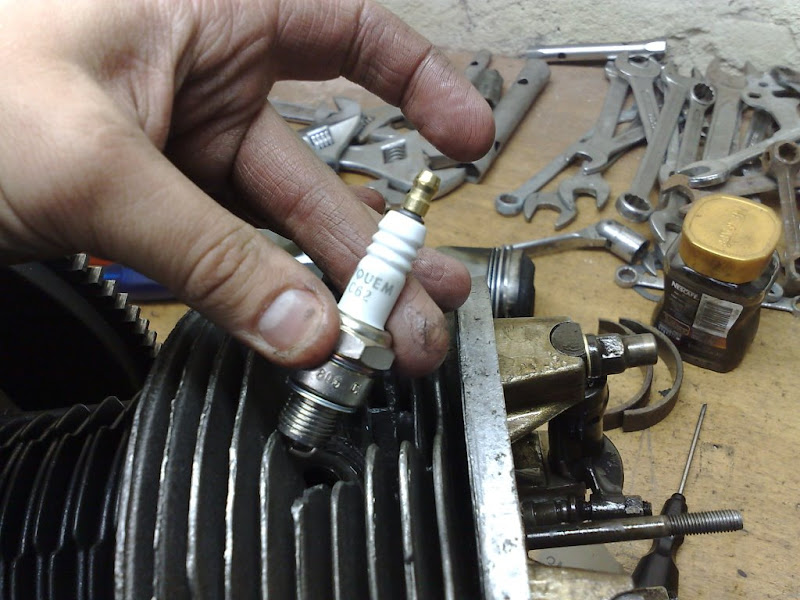
New sparkplugs.
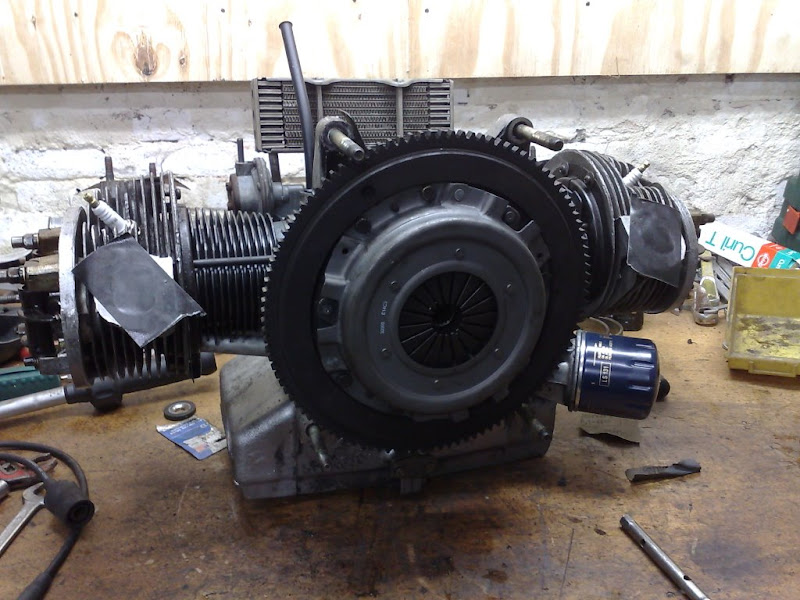
Brand new clutch set.

Don't forget to put this little sucker back :)
Setting the valve clearances, using the instructions in the Haynes manual.
Refitting the covers, after lubing the place up some more :)
All is fitted now. Even the fuelhose.
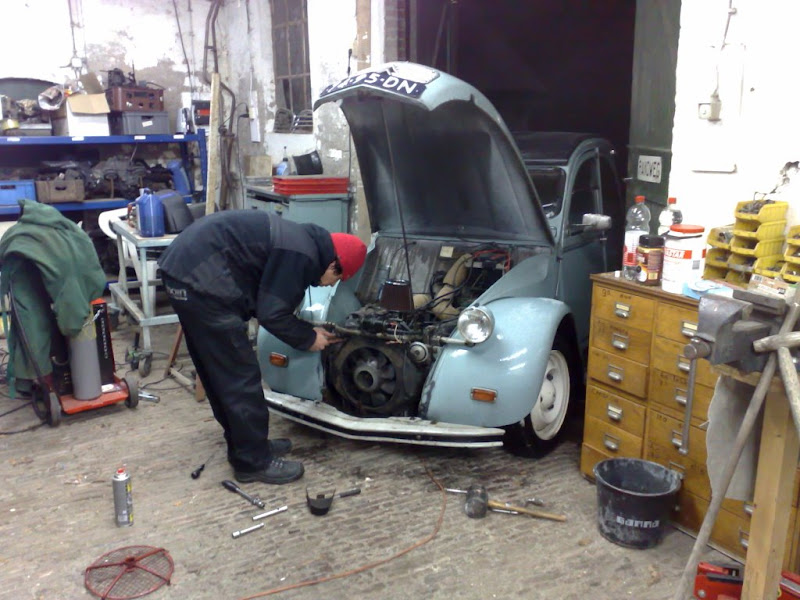
My brother has a problem with electrics in his deuche. Somehow when the engine is off, he has no more than 14V on his battery but when the car is running it goes up to over 17V! Recently he changed the voltage regulator and even made a new Ground for it. Did not work.... He was refitting a new Ground on the collector (dynamo). Hope it is well now.
_________________
|
|
| Back to top |
|
|
|


